

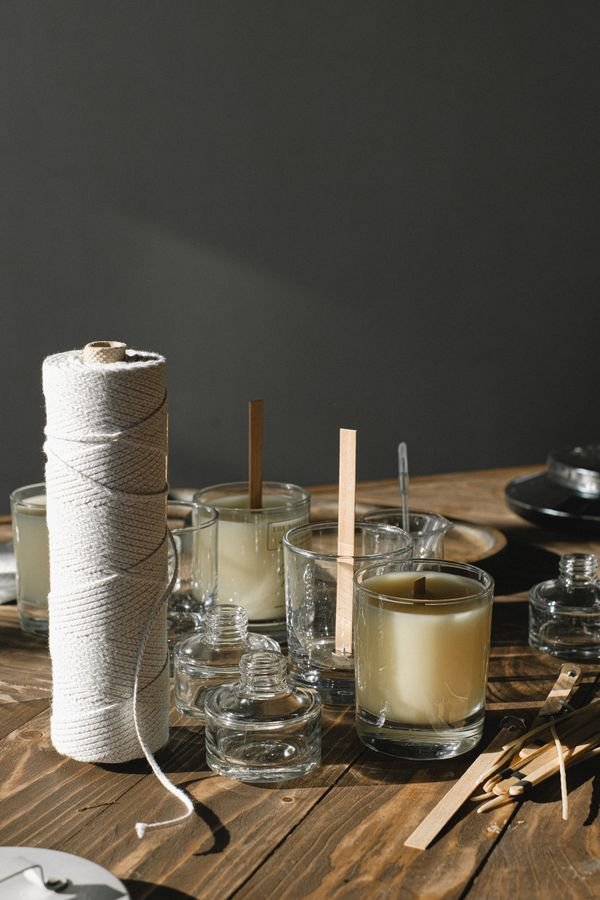
You do not need power tools, a workshop, or years of experience to start making things for your home. Some of the most satisfying home projects are also the simplest: a painted side table, a piece of art you made yourself, shelves you hung with your own hands. DIY is not about perfection — it is about creating a home that feels personal, learning as you go, and saving money along the way.
Below are five easy DIY projects chosen specifically for beginners. Each one takes an afternoon or less, needs only basic tools, and teaches a skill you will use again and again. Start with whichever excites you most — there is no wrong first project.
1. Paint a Small Piece of Furniture
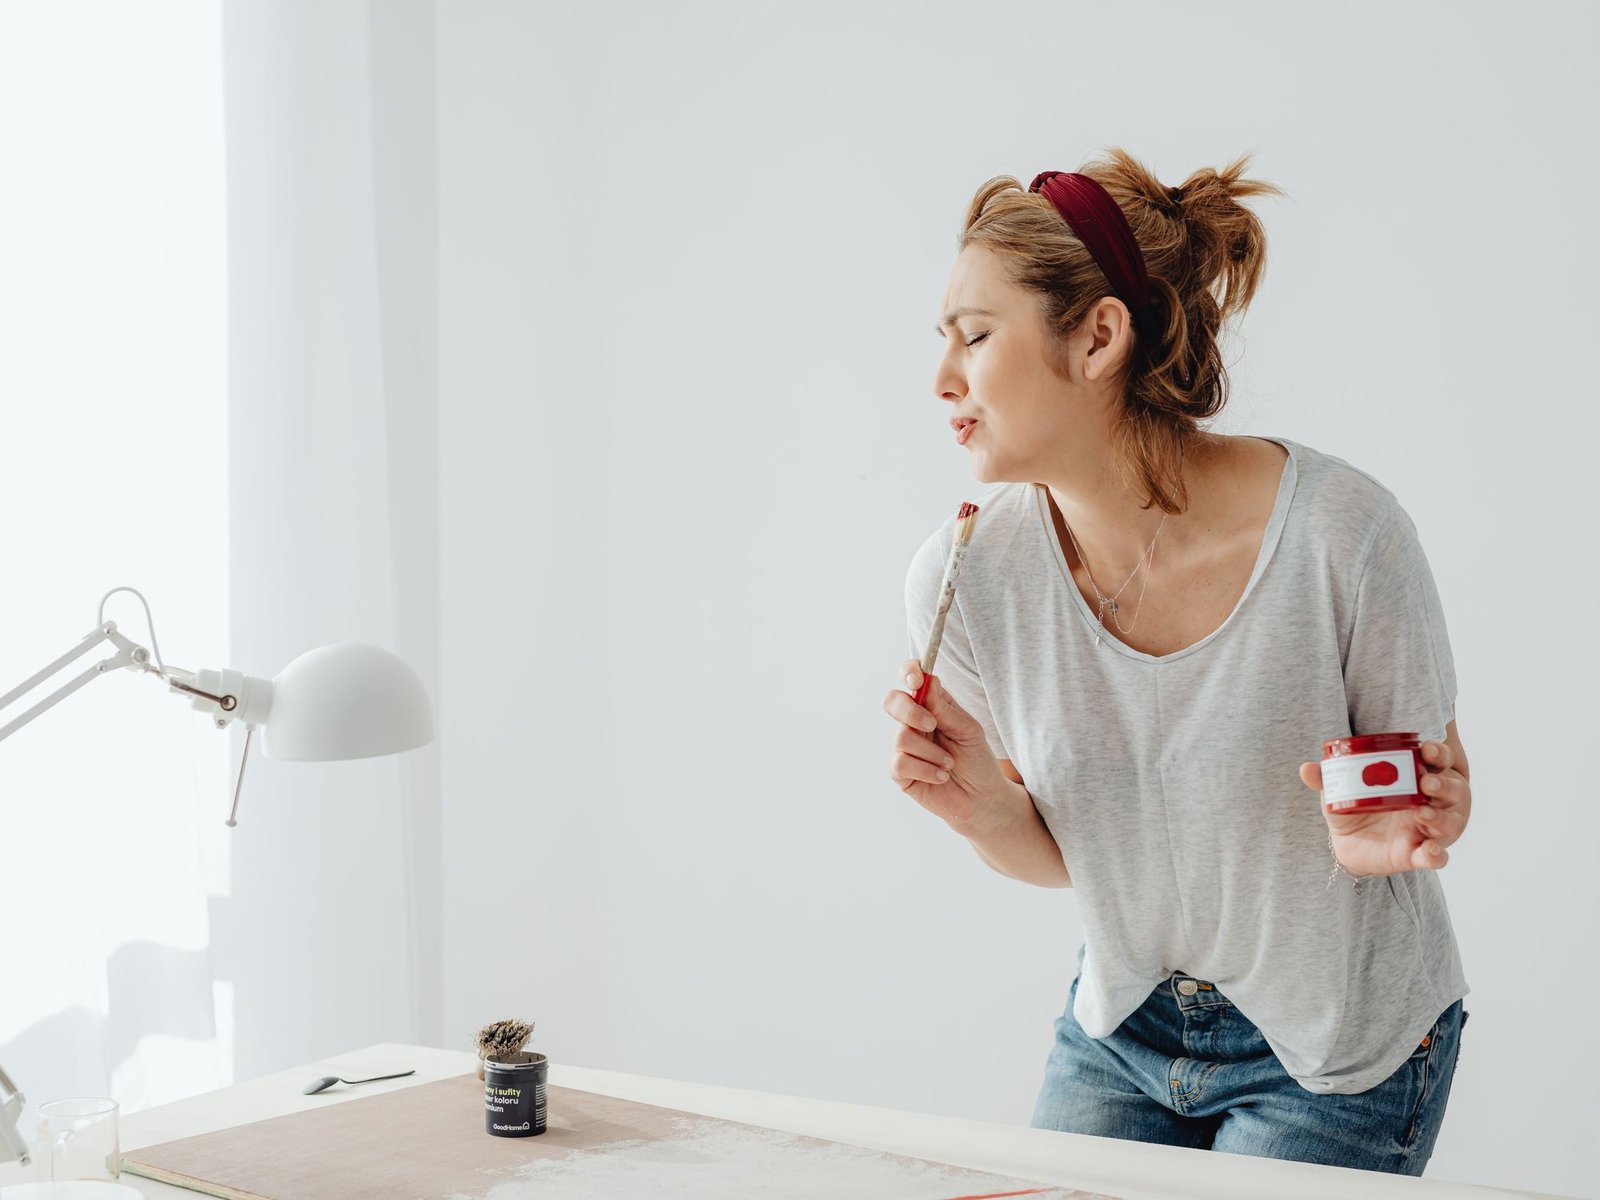
Painting is the perfect first DIY project: cheap, forgiving, and instantly transformative. A tired side table, a plain picture frame, or a terracotta plant pot becomes something new with a single coat of paint in a color you love.
What you need: the piece, sandpaper or a sanding sponge, all-purpose cleaner, painter’s tape, a small brush or mini roller, and furniture or chalk paint.
- Clean the piece thoroughly and let it dry.
- Lightly sand glossy surfaces so the paint grips.
- Tape off any parts you want to keep unpainted.
- Apply two thin coats, letting each dry fully.
- Remove the tape while the final coat is slightly tacky.
Beginner tip: thin coats always beat one thick coat, which drips and takes forever to dry. If you enjoy thrifty transformations like this, you will love Budget Decor: Big Style, Small Spend.
2. Make Your Own Wall Art
Homemade art makes a house feel like yours in a way store-bought prints never can. You do not need to be an artist — abstract color blocks, a framed piece of beautiful fabric, or a pressed leaf arrangement all look intentional and stylish.
What you need: a frame (thrifted is perfect), plus your chosen art: fabric, wallpaper samples, paint and a canvas board, or pressed botanicals.
- Choose a simple color palette of two or three tones.
- For abstracts: paint bold brushstrokes or color blocks on canvas board.
- For fabric art: stretch patterned fabric over the frame’s backing and tape it flat.
- For botanicals: press leaves in a heavy book for a week, then arrange under glass.
- Hang at eye level — the center of the art about 57 inches from the floor.
Beginner tip: make a set of two or three small pieces instead of one large one. A series looks more polished and takes the pressure off any single piece.
3. Hang Floating Shelves
Floating shelves add instant display space for books, plants, and favorite objects — and hanging them teaches you the most useful DIY skill of all: drilling into a wall with confidence.
What you need: floating shelf kit (with hidden brackets), a drill, a level, a pencil, wall anchors, and a stud finder if you have one.
- Hold the shelf against the wall and mark bracket positions with a pencil.
- Check the marks are level before drilling — this step matters most.
- Drill pilot holes, insert wall anchors, and fix the brackets firmly.
- Slide the shelf onto the brackets and check it is level again.
Beginner tip: start with one short shelf rather than a long run. Once you have hung one successfully, the second feels easy. Style your new shelves with books and greenery for a lived-in look.
4. Create a Gallery Wall with Thrifted Frames
A gallery wall turns a blank wall into a personal statement, and thrifted frames keep it affordable. Mixing frame styles and sizes looks collected and charming rather than mismatched.
What you need: five to nine frames in various sizes, art or photos to fill them, painter’s tape, a hammer, and picture-hanging hooks.
- Lay the arrangement on the floor first and shuffle until it feels balanced.
- Trace each frame onto paper, cut out the shapes, and tape them to the wall.
- Step back and live with the paper layout for a day before committing.
- Hang the largest piece first, then work outward.
Beginner tip: keep two to three inches between frames for a tidy, intentional look. Odd numbers of frames almost always look better than even ones.
5. Swap Out Cabinet Hardware
New knobs and pulls modernize a kitchen or dresser in under an hour, with nothing more than a screwdriver. It is the rare project that is genuinely foolproof and makes a dramatic difference.
What you need: new knobs or pulls, a screwdriver, and a ruler or template for measuring hole spacing.
- Remove one old knob and measure the distance between screw holes.
- Buy replacements with the same spacing so no new holes are needed.
- Swap them one cabinet at a time so nothing gets mixed up.
- Keep every handle consistent for a clean, professional result.
Beginner tip: matte black, brushed brass, and simple wood knobs suit almost every kitchen. For more kitchen-specific upgrades, see Kitchen Decor Ideas That Feel Fresh. And when you are ready for bigger weekend builds, try Weekend DIY Home Decor: 5 Projects Under $50.
Beginner DIY Tips That Save Every Project
- Measure twice, cut once. The oldest workshop saying exists for a reason.
- Prep beats talent. Cleaning, sanding, and taping decide the final quality.
- Buy the small size first. Sample paint pots and small material quantities keep early experiments cheap.
- Watch one video. A five-minute tutorial before you start prevents most beginner mistakes.
- Embrace imperfection. Slightly wobbly brushstrokes are the signature of handmade — that is the point.
Frequently Asked Questions
What tools does a DIY beginner actually need?
Start with the basics: a screwdriver set, a hammer, a tape measure, a level, a utility knife, and a drill. That small kit handles nearly every beginner project. Buy better tools only as your ambitions grow.
What is the easiest DIY project for a complete beginner?
Painting a small object — a frame, a pot, a side table. It needs minimal tools, mistakes are easy to fix with another coat, and the transformation is immediate and motivating.
How much should a beginner spend on a first DIY project?
Most beginner projects cost under $30 in materials, especially if you start with something you already own. Paint, a thrifted frame, or new knobs are all inexpensive. Keep first projects small while you build skills and confidence.
How do I avoid beginner DIY mistakes?
Prepare properly, work slowly, and measure carefully. Watch a short tutorial first, read the product instructions, and do not skip prep steps like cleaning and sanding. Most DIY disasters come from rushing, not from lack of skill.
Every skilled DIYer started exactly where you are now — with one small project and a little curiosity. Pick one idea from this list, gather your supplies, and make something this weekend. Your home will thank you.
Paste your AdSense code in Ad Inserter Block 3