
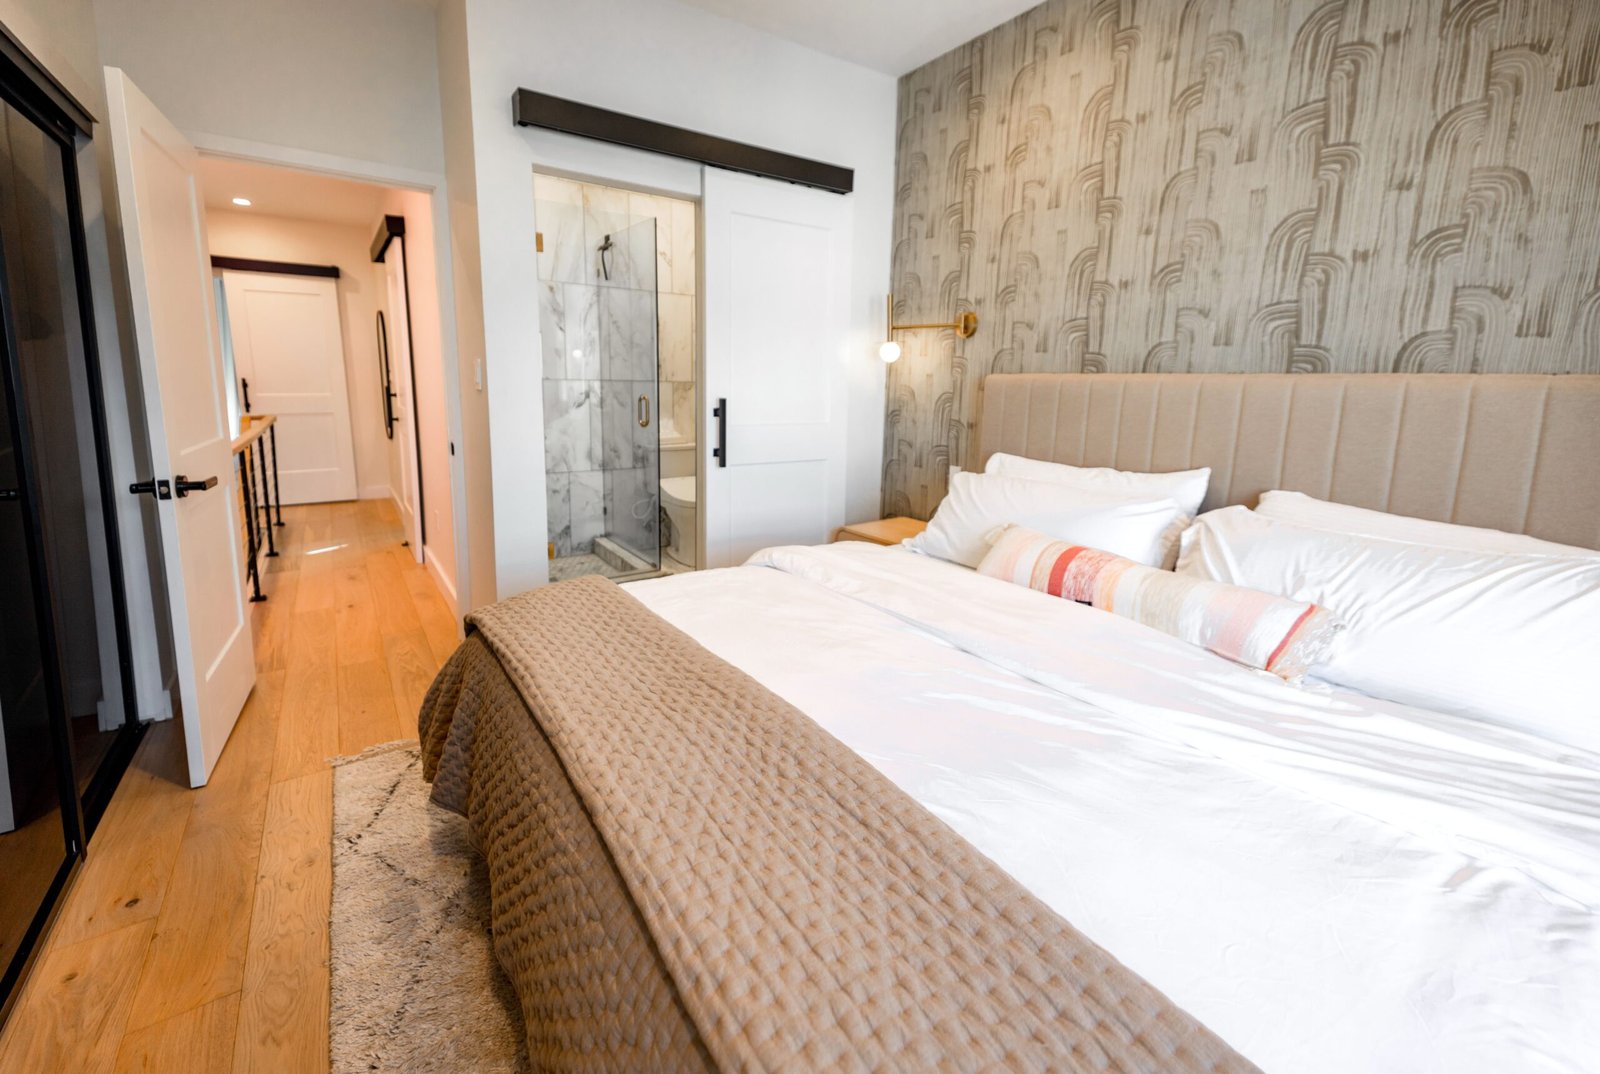

I lived with blank white rental walls for four years. Not because I liked them. Because I was scared of wallpaper.
Traditional wallpaper scared me for good reason. My college roommate tried to hang the paste kind, and there was paste on the ceiling. We lost half our deposit. So when people told me there was a kind you just peel and stick, I didn’t believe them. Sounded like a trap.
Then my landlord raised the rent and I decided the apartment owed me something. I bought one roll, $34.99, a subtle sage green. That Saturday I put it up behind my bed, one accent wall. My bedroom looked like a different apartment. A better apartment.
That was five years ago. I’ve since papered six walls in three different rentals, and removed every bit without losing a dollar of deposit. Here’s everything.
Why This Stuff Actually Works
The back is adhesive, like a giant sticker. You press it onto the wall. No paste. No water. No bucket. When your lease ends, you peel it off, and the wall looks like you were never there.
The best part is how forgiving it is. You can lift and reposition. I peeled a panel back off and tried again eleven times on my first wall. Eleven. The paper didn’t care.
How to Pick Good Paper
Not all peel-and-stick is equal. The cheap thin stuff tears, stretches, and shows every bump on your wall. Look for thicker, fabric-backed paper. It costs more but it’s worth it. Read reviews that mention removal. If people say it took paint off, skip that brand.
Start with a subtle pattern. Not because bold is bad, but because your first wall is practice. My first was a quiet sage texture. My third was a full botanical print. Work up to it.
The Bubble-Free Method
Here’s the technique. Peel back the top few inches, stick the top edge to the wall, then slowly peel downward while smoothing with a plastic smoother or a credit card wrapped in a cloth. Work from the center outward. Small bubbles you can push to the edge. Big bubbles, lift and redo that section.
Do NOT try to hang a full panel at once. You’ll end up with it stuck to itself, and unsticking it from itself is a special kind of misery. Top-down, slow, smooth as you go.
Best Rooms
Bedrooms are the classic. One accent wall behind the bed. Bathrooms work too — the good paper handles humidity fine. Just not inside the shower. Powder rooms are perfect because they’re small and one roll might do the whole thing.
I’ve also done a home office, which made video calls look about 400% more professional. Best $40 I ever spent on my career.
Mistakes to Avoid
Don’t skip the wall prep. Wipe the wall down. Dust and grease kill adhesion. Don’t hang it on textured walls — it won’t stick properly and it’ll look lumpy. And measure twice, order once, but order 10% extra. You will mess up a panel. Everyone does. The extra is not waste. It’s insurance.
Removal (The Part You’re Actually Worried About)
Start at a bottom corner and peel slowly, pulling back at a low angle. Not straight out — low and slow, like you’re peeling a sticker you want to save. It comes off clean. I’ve done it six times. The walls underneath looked untouched every time.
If a spot resists, warm it with a hair dryer for a few seconds. The heat softens the adhesive. But honestly, I’ve never needed the hair dryer. Slow and low works.
Frequently Asked Questions
Will it damage the walls?
Not if you buy decent paper and remove it properly. Six walls, three apartments, zero damage. The cheap stuff is riskier, so don’t cheap out on the thing that’s touching your deposit.
Can I put it in the bathroom?
Yes, on the walls, not in the shower. Good quality paper handles steam fine. My powder room has had it for two years. Still perfect.
How long does it last?
Years, if it’s good paper and the wall was clean. Mine’s been up three years in one place. Still stuck. Still looks good. When I’m ready for a change, it peels off.
That’s my peel-and-stick manifesto. No bucket, no paste, no fear. Go get your $35 roll.
Paste your AdSense code in Ad Inserter Block 3