
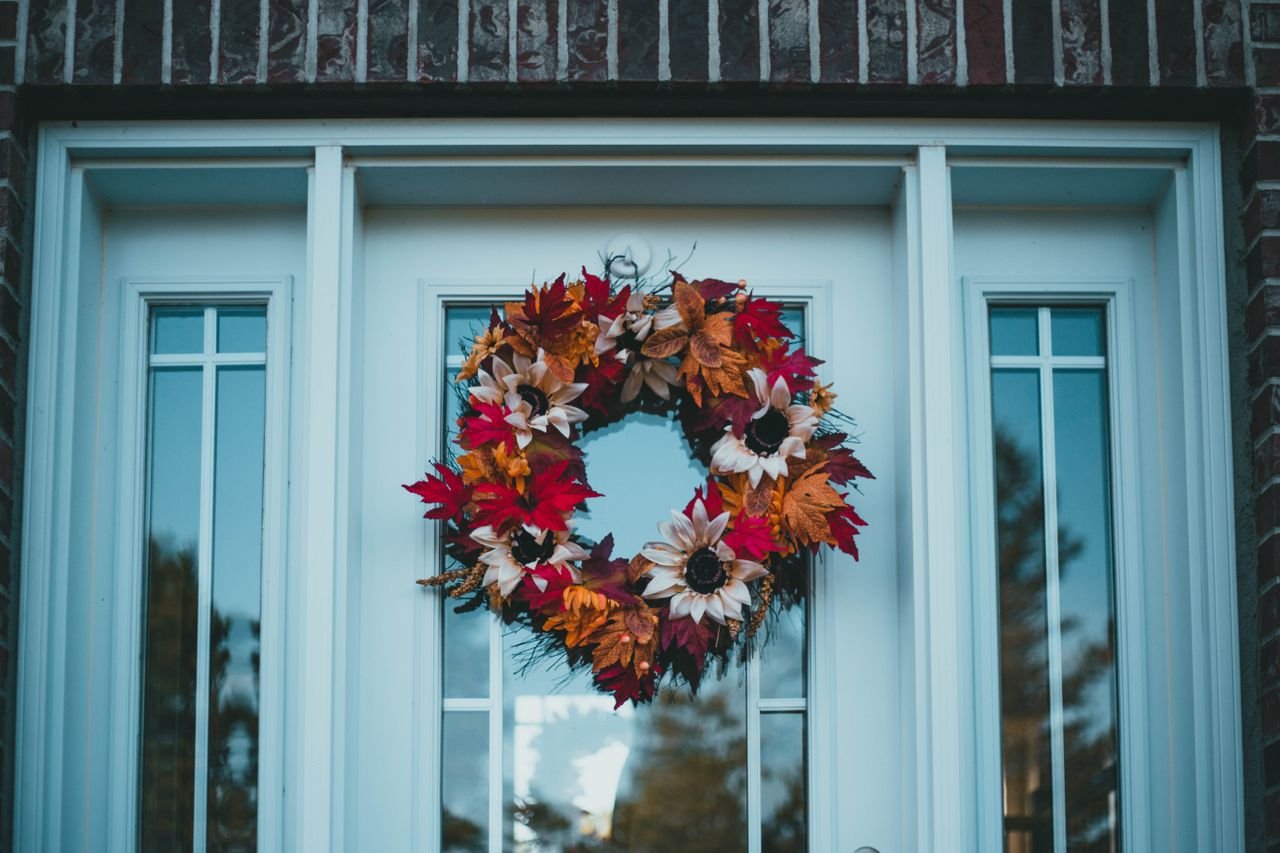

I spent $45 on a fall wreath DIY kit three years ago and produced something that looked like a bush had exploded on my front door. I’m not exaggerating. My husband took one look at it, paused, and said, “It’s… rustic?” Rustic. That’s what people say when they can’t say anything nice. I’d followed the instructions. I’d bought the good wire. And somehow I’d created a lopsided tumbleweed with delusions of grandeur. It hung on our door for exactly two days before I took it down under cover of darkness like I was hiding a crime.
Here’s the thing, though. That disaster taught me more than any tutorial ever could. Because after it, I went and learned how wreaths actually work. Not from a kit. From messing up repeatedly until something clicked. Now I make one every fall, and people ask me where I bought it. The answer is my kitchen table, with a glue gun and about twenty dollars of supplies. If I can turn a tumbleweed into something door-worthy, you can too.
Start With a Grapevine Wreath (It’s Almost Impossible to Mess Up)
Grapevine is the beginner’s best friend. I will die on this hill. It’s a natural woven branch base that already looks good empty. Seriously. You could hang a bare grapevine wreath on your door and it would look intentional. Like you meant it.
You can buy a grapevine base at any craft store for around eight to twelve dollars. Mine came from a roadside stand where a very nice man sold me three of them for ten bucks. I still think about that deal. It was three years ago. I still bring it up.
The method is embarrassingly simple. Tuck your stems and picks into the vines. The grapevine grabs them. No wire needed for most of it. No glue. I arrange everything first, then step back and squint at it. Then I rearrange. Then I step back again. My neighbor watches me do this from her porch. I pretend I don’t notice. When it looks right, I hot-glue a few key pieces in place so wind doesn’t rearrange my work overnight. That’s the whole technique. Tuck, squint, glue.
For a classic fall look, I use dried wheat stems, some faux maple leaves in rust and gold, and a few small pinecones. This is one of those weekend DIY home decor projects under $50 that actually stays under $50. My whole first successful wreath cost me about eighteen dollars. The $45 kit is still a sore subject.
The Supplies You Actually Need
Not much. A wreath base. Greenery or dried stems, real or faux. A hot glue gun, which you probably already own because everyone owns a hot glue gun. Wire cutters or old scissors. Floral wire if you’re feeling fancy. Ribbon. Optional, but I always end up using it.
Here’s my hot take. Buy the faux stuff on sale and don’t feel guilty about it. Real eucalyptus dries out and gets crunchy within weeks. Faux eucalyptus looks the same from the sidewalk and lasts for years. I’ve got a faux eucalyptus garland that’s survived three falls and still looks brand new.
The Eucalyptus Wreath (Modern and Minimal)
If the grapevine wreath is the cozy classic, the eucalyptus wreath is its cooler younger sibling. Same green-gray color all the way around. No fussy fall colors. Just texture. It looks expensive. It took me forty minutes and cost eleven dollars.
I used a plain wire wreath frame. Bundled faux eucalyptus stems in small groups of three. Wired each bundle to the frame. Overlapped them so the stems all pointed the same direction. The trick is density. You want it lush. I used about twelve stems for an 18-inch wreath. Buy more than you think you need.
This style works if your house leans modern. It’s also one of the 5 easy DIY projects for beginners I’d actually recommend.
Dried Wheat and Grasses (The Cheapest Wreath You’ll Ever Make)
A bundle of dried wheat from the craft store costs about four dollars. You stick them into a grapevine base. Suddenly you have a wreath that looks like it belongs in a design magazine. Total cost: under ten dollars.
I made one of these for my mom last year. Her entire book club complimented it. Four dollars of wheat. My mom’s book club thought she was fancy now. If you want to see how far you can stretch a small budget, my budget decor guide for big style on a small spend has more ideas.
The Asymmetrical Hoop Wreath (For the Bold)
Once you’ve survived one or two full wreaths, try the hoop. It’s just a thin metal ring. You decorate like, a third of it. The rest stays naked. It looks modern. People will assume you understand design. Let them assume.
Quick warning from my own stupidity. I ran out of hot glue sticks halfway through once and grabbed super glue instead. Do. Not. Do. This. I glued two fingers together. I had to text my neighbor one-handed to come help. She peeled my fingers apart with nail polish remover while laughing so hard she could barely breathe. She still brings it up. Every fall.
Hanging It Without Damaging Your Door
Please. Don’t nail into your front door. A wreath hanger that goes over the top of the door costs like four dollars. Best deal in home decor.
And then the midnight disaster. I’d hung the finished wreath at 11pm. Stepped back to admire it. The whole thing slid right off the hook and landed face-down on the porch. Pinecones everywhere. I was out there in pajamas at midnight with a flashlight picking up pinecones. My neighbor’s porch light came on. I waved. She waved back. We never spoke of it.
Oh, and here’s one I’m deeply ashamed of. I hung a wreath inside-out once. The BACK was facing the street. For a WEEK. My neighbor finally said something, very gently. I wanted to move houses. Now I always check. Front side out.
How to Store It So It Survives to Next Fall
Get the round box. They sell them at the craft store. Fifteen bucks. Has handles. Before I had one, I used garbage bags. Every October I’d pull them out and they’d look like they’d been sat on. Because they HAD been sat on. By other garbage bags.
Hang the box if you can. Don’t stack stuff on it. And label it. Mine says “FALL WREATH – GOOD ONE.” I also have one that says “FALL WREATH – EXPERIMENTAL.” We don’t open that one. That one’s from the $45 era. It’s in timeout.
Mistakes I See (Because I Made Them All)
Too much stuff. That’s the number one killer. Beginners keep adding. At some point a wreath stops being a wreath and becomes a pile. Step back every ten minutes. Ask if it needs anything. The answer is almost always no.
Glue gun burns. Everything is hot. I have a tiny permanent scar on my left thumb from grabbing a falling pinecone mid-glue. Let the glue sit for ten seconds before you touch it. Your thumb will thank you. Mine can’t. It’s too late for my thumb.
And the classic. I once bought a pre-made wreath from a home store because I was in a rush, hung it up, and told a friend I’d made it. She looked at it for three seconds and said, “Oh, I saw this one at [store].” I wanted the floor to open up. Make your own. It’s cheaper, and you don’t have to lie about it at dinner parties.
If this is your first fall project, I put together my cozy fall decor ideas that aren’t just pumpkins for exactly this moment.
Frequently Asked Questions
How much does a DIY fall wreath actually cost?
Okay so my neighbor. She watches me work on the porch and one day she just started doing math out loud. “So the base was ten bucks?” Here’s the honest breakdown. Grapevine base, eight to twelve dollars. Faux stems from the sale bin, ten to fifteen. So fifteen to twenty-five dollars for something that looks like the sixty-dollar store version. The $45 kit? Still the most expensive wreath I’ve ever made. Also the ugliest.
How long does it take to make one?
My sister texted me this on a Saturday morning. “Be honest. Is this an all-day thing.” It’s not! My grapevine ones take about an hour. The eucalyptus took forty minutes. The ONLY one that took all day was the $45 disaster, and that’s because I spent a solid hour sitting on the floor just staring at it. In despair.
Will a homemade wreath survive wind and rain?
Oh man. My coworker. She hung hers on a totally uncovered porch. Texted me after the first big storm. The entire message was just “RIP” and a photo. Covered porch? Totally fine. Fully exposed? Faux materials hold up way better than dried natural stuff. My door’s covered. My wreaths look fresh all season.
Can I use real leaves and branches from my yard?
I did this exactly once. Made a whole wreath out of my neighbor’s maple leaves. It was STUNNING. For four days. Then the leaves curled. Then they browned. By week two it looked like a crime scene. Fresh yard stuff is gorgeous and temporary. Extremely temporary.
What size wreath should I get for a standard front door?
Mine’s 22 inches on a standard 36-inch door. That ratio just works. For a normal front door, go 20 to 24 inches. Under 20 and it looks lost. Over 26 and it starts eating the door.
That’s everything I’ve got. Start with grapevine. Tuck, squint, glue. Step back more than feels necessary. And when someone asks where you bought it, you get to do the little smile. “I made it.” That moment? Worth every burn.
Paste your AdSense code in Ad Inserter Block 3